Saturday, February 28, 2015

1st Finish of 2015!

Finally... a Finish!
Crossroads #4 was sandwiched, quilted and bound this afternoon just in time to get some quick iPhone pictures before it turned completely dark outside. I'm happy to say that once I got going it didn't feel at all like it had been over a year since I last did these steps.
My favorite walking foot grid quilting on both sides of the block sub units worked out well. I opted for pin basting instead of spray basting indoors and used some leftover pieces of batting on this quilt.
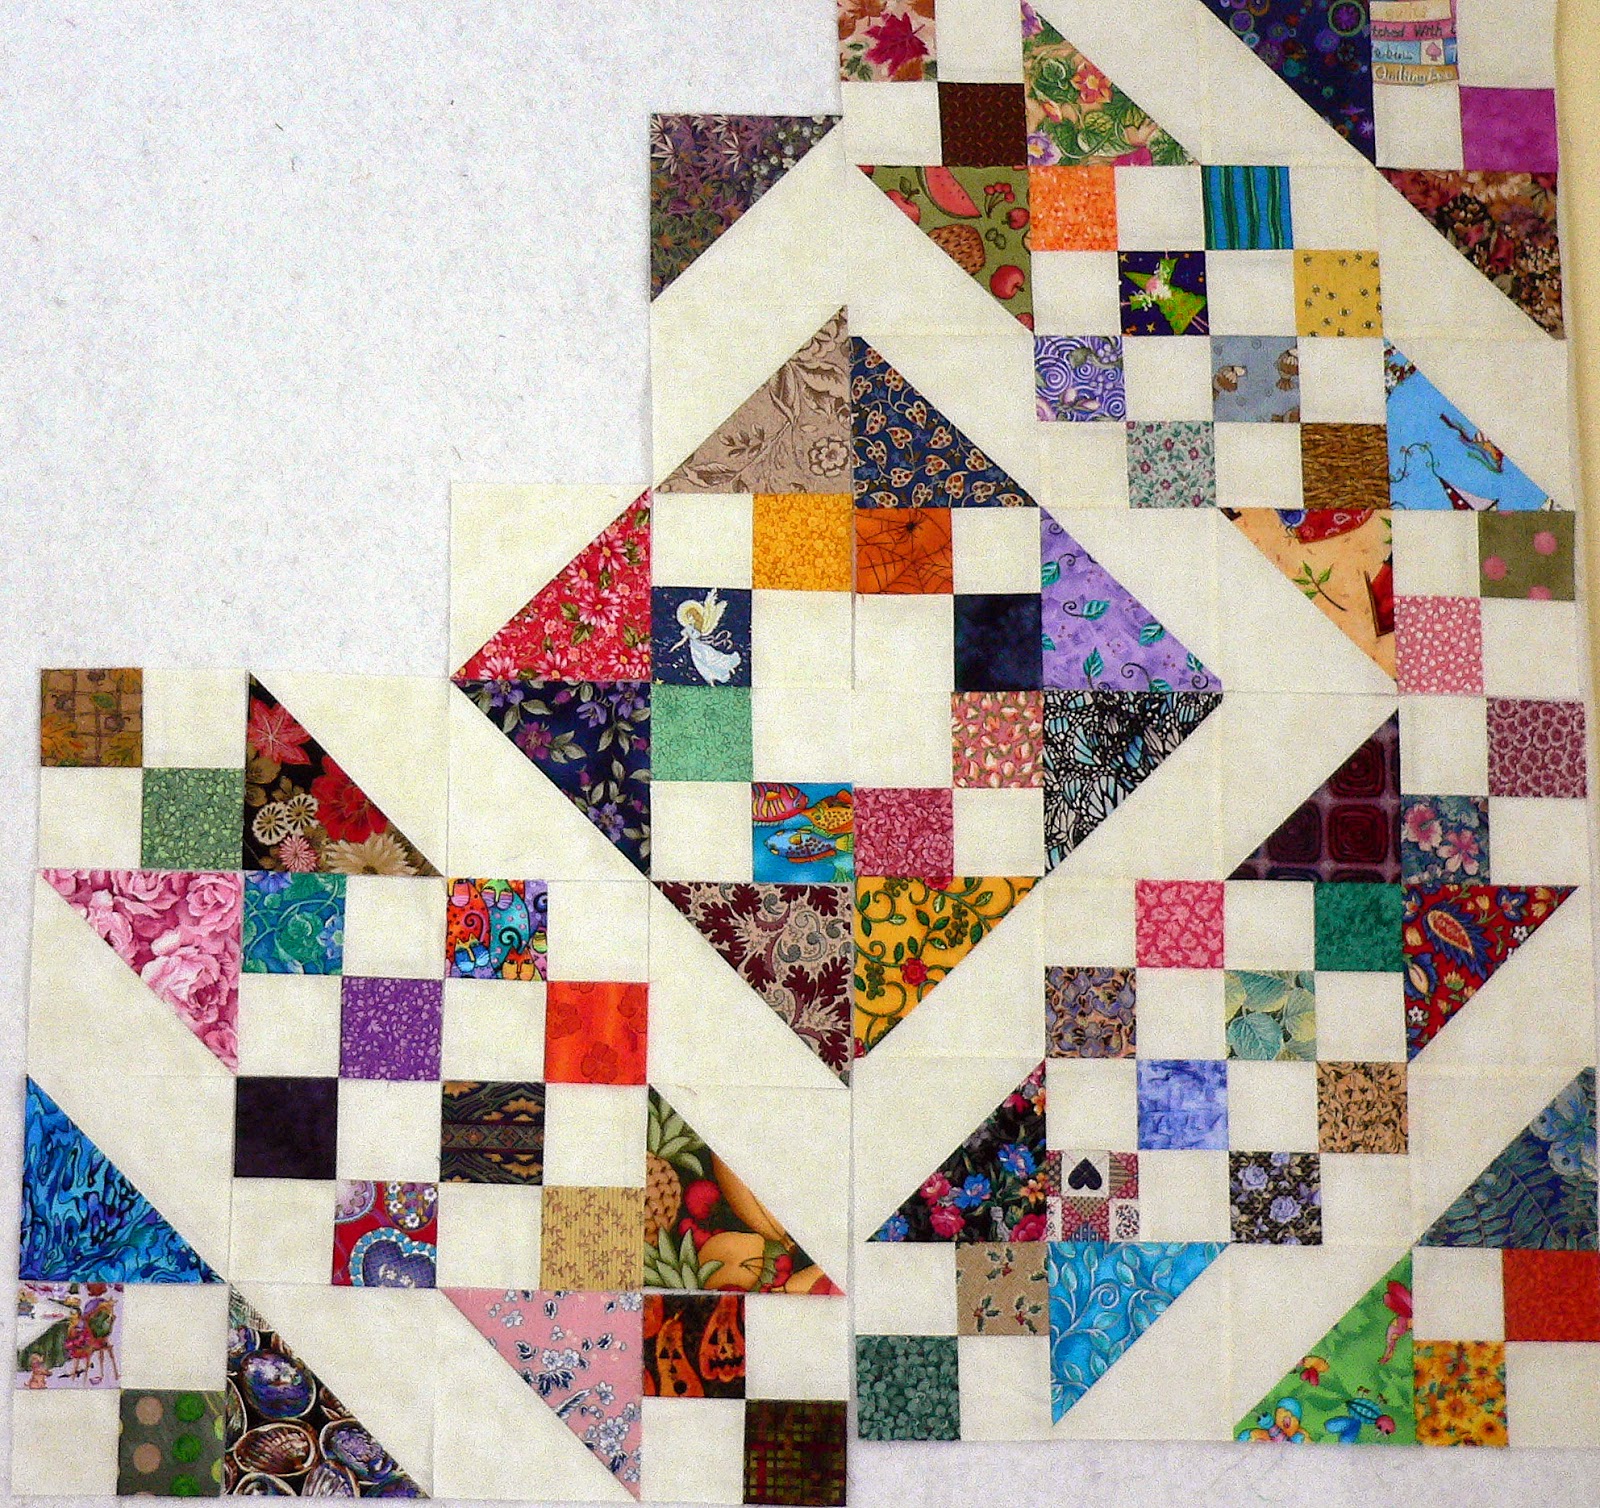
 I love the royal blue polka dot backing with a slice of bright green in contrast to the striped binding which I applied by machine. This quilt will be donated to Project Linus and is the 1st of 4 quilts made from RSC13 blocks. The Crossroads block pattern can be found HERE and these blocks are the 12" size.
                                                               My Button
This is my designated February UFO for A Lovely Year of Finishes and it is also on my Q1 Finish Along list HERE. I will update this post later with better pictures - the background fabric is a crisp white instead of cream - but it is a FINISH. Now to trim my loose threads and call it a day in my Quilting Room!

Wednesday, February 25, 2015

WIP Wednesday: Piece On

Contrary to my post last Wednesday when I was anticipating a binge of quilting to occur - the last week of sewing has been ALL about piecing.

Piecing Station:
I have finished 60 of the 80 blocks needed for Picnic in Serenade on the left side of my design wall and 5 of the 20 blocks needed for Sunny Lanes. They are proving to be a nice complement to each other and instead of using Sunny Lanes as a true leader/ender project I have found it easier to alternate back and forth as I create the parts needed for each.
I am using a handy new ruler which is making my Picnic block construction much less painful and keeping Mr. Ripper out of use. The Folded Corner Clipper by Prairie Sky Quilting is designed to eliminate drawing the lines by trimming the corner before you sew. I was having issues getting pinked edges of jelly rolls to "behave" while piecing these sub units but this ruler allows me to clearly see that both fabrics are aligned properly before cutting. Having that trimmed edge to follow while sewing makes a huge difference in accuracy for me.
You can use the same technique with an Easy Angle ruler but I found all the markings to be distracting when I tried mine. And I am very careful to lay out my fabrics in the same way so I don't cut them incorrectly!
The parts for Sunny Lanes were all jumbled together in my bin so I've spent a fair amount of time sorting them out and calculating how many 4 patches and HSTs I still need to make. To complicate matters I had less than a yard left of the Moda Marbles background fabric so I was rather nervous as to whether I had enough. Turns out I had made too many 4 patches and not nearly enough HSTs but I'm quite sure I have enough fabric at this point. Whew!
I'm a big fan of the Eleanor Burns Quilt in a Day Triangle Square ruler for making quick work of trimming HSTs to the proper size. I love HSTs and have found over the years that trimming saves me a lot of headaches in block construction later. This technique allows you to trim before pressing so you only trim 2 sides instead of 4. Periodically I use my 4.5" square ruler to check my finished blocks to make sure I'm on track. Assembling Path & Styles in Thimbleberries earlier this month was an excellent reminder to keep my sub units the correct size.
I've decided I might as well finish piecing the last 20 blocks for Picnic in Serenade and the rest of the HSTs and 4 patches for Sunny Lanes while I'm in the groove... even though that means pushing my quilting projects out at least another day. As long as I'm working on UFOs in one way or another in the end it will all even out right?

I'm linking up to WIP Wednesday@Freshly Pieced.

Saturday, February 21, 2015

New to Me: QAYG

All month long I've been thinking over what to choose for my February Let's Book It project. Yesterday while contemplating why I'm continuing to work at piecing projects instead of sandwiching/quilting projects I had an AHA! moment.

I purchased this book last fall, paged through it, borrowed it to my Mom and kind of forgot about it until she returned to me last month. I've always been intrigued by the concept of Quilt-As-You-Go but the actual mechanics of it are a mystery to me.
The cost of batting (even on sale!) has given me cause to keep all of my leftover batting. Here are my larger pieces stuffed under my cutting table - there is 6 feet of that mess. I also have a large box full of smaller pieces plus 2 rolls of Warm & White - one 45" wide for my smaller projects and one 90" wide for everything else.
One of my goals this year is use my smaller pieces instead of always going the easy route and cutting a fresh length off my rolls. I even have some of this tape that I bought a few years ago to make it easy... yet here I am, still procrastinating.
So let's just say after reading through Jera's book I got pretty excited! I pulled this Riley Blake layer cake out of my stash this morning and got started using the easiest looking pattern in the book called Ballard Blocks.
Here's my 10" fabric on a 13.5" square of Warm & White - one of Jera's recommended needle-punched battings. I've been a Warm & White/Warm & Natural fan for years so I have plenty to work with.
I quickly quilted back and forth across the zig zag fabric using the lower peaks as my guide with straight lines on Mr. Juki and started adding my sashing strips of grey Moda Bella. I didn't find it necessary to attach my walking foot as both layers stayed perfectly flat.
Then I trimmed my block to 12.5". Since my quilting was minimal and didn't cause my batting to warp at all I'm going to cut the rest of my batting squares smaller. Jera has a helpful discussion about this in her book. Yes, these are leftover batting pieces but I still don't like to waste it!
Here's a picture of the back of the block.
I'd love to try some wavy lines and some random lines too. And, down the road, I'm thinking these types of blocks will be perfect for FMQ practice. I'm also looking at my shelf of kid's novelty fabrics and my stash of 6.5" charm squares in a whole new light. Because anything I can do to make my Project Linus donation quilts more fun to COMPLETE is a win.
But before I go off the deep end completely I will need to see how the joining of the blocks and finishing the quilt goes but the book sure makes it look easy. Next month I'll let you know if it really is. And, I after I cut 19 more squares of batting for this quilt I might be able to cut a fresh length off my roll guilt free for my UFOs that need to be sandwiched ASAP!

One more thing... I was lucky enough to be the winner of last month's link-up. Aren't these just the cutest? I'm planning to order a couple more charms to add to the sewing machine pin from PinPeddlers.com as soon as I make up my mind. Thanks again, Sharon! I'll be linking up to Let's Book It@Vroomans Quilts later in the month.

Wednesday, February 18, 2015

WIP Wednesday: All Systems Go!

2 of my 3 workstations are busy this week which means the 3rd will be revving up soon.

Piecing Station:

On Monday I pulled out the pieces of another UFO on my Q1 Finish Along List - Picnic in Serenade - and got busy. This quilt is from Kim Brackett's book Scrap-Basket Sensations and I just love her designs. I have all of her books and would love to sew numerous quilts from each one. I started this quilt in 2013 as a part of my UFO Reward System (finish 10 UFOs - start a NEW quilt!).
My design wall is looking fresh and fun don't you think? This is my 1st project using Kate Spain fabrics and it is seriously making me want to dive into the stack I've accumulated in the last 2 years. Love her too!
A quilting habit I'm trying to change this year how I do my cutting and keep tabs on my projects. I usually have a short attention span and get bored easily. And, I'm always wanting to get to my favorite part of quilting ASAP - piecing! Which means I never cut the pieces for an entire quilt at the beginning. I'm OK with that initially because I do like to make a few blocks right away to make sure I'm loving the pattern, the fabrics I'm using and how the blocks are coming together.
But once I'm sold on the project I want to do ALL of the cutting, put together a plan of how I'm going to build the blocks and create packets of parts for each step. Since I'm not a start-to-finish quilter this will help me to better manage multiple projects when I lose steam on one and jump to another. Instead of writing random notes about my project that end up being lost I am keeping them all in my new Quilting Journal. You can download these fantastic project pages by Taryn@from Pixels to Patchwork HERE.

Sandwich Shop:
I've started making backings and added Blue Slabs on Yellow to my list. Today I plan to finish the backings for the other 2 Crossroads quilts, sandwich them all and get ready for a mini-marathon of quilting to round out the month.

Quilting Station:

Ready and waiting... I gave Mr. Juki a good cleaning and oiling on Monday before using him to do some of the piecing on Picnic in Serenade. I don't like to play favorites with my machines because they each do their thing well - but sewing with my Juki TL2010 is just such a pleasure! The solid feel of the machine, the beautifully even stitches, the no fuss, no muss ease of use... I could go on and on. Needless to say I'm itching to turn my flimsies into quilts soon.

My assistant Elsa is adapting to the new setup as well. This pic was taken from the doorway of my Quilting Room and the Sandwich Shop is down a hall to the left. I like to get up and move around while sewing so I generally keep my ironing board in our laundry room inside the lit up doorway across our family room.
Elsa will follow me between rooms for awhile and then she often settles here to nap and keep an eye on my comings and goings. We have in-floor heat in our lower level so it's also a cozy place for her. Our frigid weather is back in full force but as you can see I'm quite content to stay inside and sew.

I'm linking up to WIP Wednesday@Freshly Pieced.

Monday, February 16, 2015

Design Wall Monday

I haven't done a Design Wall Monday post for a long time because my wall looked the same for months on end. And really, could anything be LESS motivating than a project that lingers and subtly shames you every time you look at it? And, why don't I figure that out sooner than later?

It's going to be a good week of sewing - I can tell because I've already been sewing this morning and I rarely sew before 11. And NEVER before 9! Blue Slabs on Yellow is a flimsy after putting the last 2 rows together and I'm really liking how it turned out. It's a happy mix of scrappy shapes and it was a fun experiment along the way too. I pulled out my Mary Ellen's Best Press and gave each slab a liberal spray to stabilize all of the bias edges before I trimmed them up into 12.5" blocks.
I'll sort through my trimmings and put them away to deal with when yellow pops up for RSC15.
Last night I spent some time excavating an old UFO. I have been emailing with Vic who has a lovely blog called Park Hill Farm for some time about our Sunny Lanes projects. She encouraged me to consider using it as a leader ender project and I'm excited to get that underway. During the summer of 2013 I got into a system that worked well for me where I used the right side of my design wall to build a UFO as I was working on a primary project on the left side of my wall. Here's a pic from an old post to illustrate.
While I was working on Scrappy Strip Stacks (left) as my primary UFO I was assembling the sub units for Arkansas Crossing. Double motivation to keep both quilts growing is what it boils down to for me plus I simply love having a wall of quilty art to admire!
Sunny Lanes is another Pat Speth design from her Nickel Quilts series of books. It was an immediate favorite for me due to the fantastic secondary pattern created by the strong contrast in the blocks. And, as you can see, I've already created a fair amount of the parts. In my previous life as a Prolific UFO Maker I spent 90% of my sewing time piecing.
And, I would always sew just a few blocks together to make sure I was on the right track before going back to my happy place - piecing. The 2 blocks on the right are my test blocks and both of them had errors in them. I fixed one last night and then saw the other as I laid the blocks out and started building the next 2 blocks. Can you see it?
My plan for today is to fix that block, clear off my worktable and sort through the parts in the plastic bin to tally up where I'm at with my supply of 4 patches and HST sub units. Then I'll be ready to "load" a primary UFO on the left wall. I can safely say my quilting mo-jo is back!

I'm linking up to Design Wall Monday@Patchwork Times.

Sunday, February 15, 2015

Another Flimsy

Remember how I wondered out loud in my Happy to be Scrappy post why I had left Path & Stiles in Thimbleberries in mid assembly mode last winter? As soon as I started working on it yesterday the answer was clear.
So many seams to match! And since many of these block sub units came from a swap there was more than the usual "encouragement" needed to get them to play nice with their neighbor blocks. As you can see... my goal was for reasonable joins.

After pinning the heck out of my 1st two rows and ending up using Mr. Ripper more than I cared to I slowed down and basted those HST joins in 2 passes so I could sew from the light triangle towards the dark (following the pressed seams) with 1 pin at each intersection. That worked so much better - from there I omitted the pins and just matched the other seams with my fingers as I came to them.

Even Elsa liked the slower pace... normally she steers clear when my machine is in action. And when I left the room to press that seam I came back to this. Check out the static cling action going on with her tail!
I had been thinking these blocks were 12" finished but they are actually 14". After pulling some border fabric options and consulting the Nickel Quilts book I realized I was following the twin sized pattern which would end up being too big. So I'm scrapping the borders altogether as 56.5" x 70.5" is just right for a throw quilt. It's way too cold for an outside pic so the design wall pic will have to do... and it's a bit dark at that.
Following that triumph I was anxious to clear my design wall for some new UFOs so I turned my attention to my Blue Slab blocks. I had settled in (I thought) on my plan to leave these wonky and sash them with white before I trimmed them to 12.5" blocks.
Then a comment arrived on THIS post and I couldn't stop thinking about that idea...
Thank you Kate! After all, blue & yellow is probably my all-time favorite color combo. At first I was foiled because I didn't have enough of one yellow but of course scrappy works.
So my plan for today is get these 20 blocks sashed, trimmed and assembled into a top. Evidently I used a lot of yellow for backing quilts in 2013 as I have several nice long pieces in my scrap stash. When they are gone I'll cut what I need from my yellow drawer.
I'm really looking forward to clearing the wall and being inspired by "new" UFOs to start the week! I'll be linking up to Oh Scrap!@Quilting is More Fun than Housework today.

                                                             Quilting is more fun than Housework

Saturday, February 14, 2015

Handmade Valentine's Day

I thought I'd share my Valentine's Day decor on the blog this year. Remember my "Sewing for the Seasons" theme in 2014... well, Valentine's Day was the only season I truly nailed before my sewing mo-jo turned into organizing/decluttering mo-jo. It has been so fun to put my quilted items out this month and I also have some items to share that were found last spring.

Our living room is a very cheerful place filled with pink & red!
My Valentine's Plus Quilt is one of my favorite makes from last year and I would love to make another one (or two) because it's such a great pattern to show off fun fabrics.
My little table of love.
In our dining room I have more touches of pink & red on the table
and on our china cabinet.
I went through a Crazy Quilting obsession a few years back and these items are from that era. The quilted Artist Trading Cards (ATCs) are from an online swap in 2008 through the HGTV Quilting Forum. Aren't they fun? I was thrilled to find them tucked into a random box last spring - I had forgotten all about them.
These little pillows were made by me. Crazy Quilting is wonderful because it mixes several of my favorite things - fabric, lace, trims, beads and embroidery.
I do plan to pick it up again once my UFO Collection gets under control. Of course there are some UFOs in my Crazy Quilting bins waiting for me. The story of my life!
It's VERY cold outside today but the sun is shining and my quilting room is calling my name. We will be celebrating the day with friends at a late dinner which I'm looking forward to. Have a great weekend everyone!

Wednesday, February 11, 2015

WIP Wednesday: My Sandwich Shop

Welcome to my newest work space - my Sandwich Shop! Elsa says come on in for a peek...
In late January we gave away our son's bunk beds and while we were taking them down I had an Aha! Moment. Since he is gone until the end of May why rush to order a queen sized bed right away? After all, it is right down the hall from my Quilting Room.

So I moved down my folding tables from the garage and ordered some bed risers from Amazon so that I could easily adjust the tables from sitting height to standing height. I pulled my Pfaff off the shelf and set it up for sewing together long backing seams with the marvelous built in walking foot (IDT). I also use this machine for adding borders to my tops and normally I set it up temporarily in our family room. I cleared off the little bookshelf so I'd have room for my backing fabrics and unpressed tops.
This little table near my Pfaff is ready to go with my basting supplies on top and the extra set of risers next to my Pfaff cover below. Micah made this table in shop class.
This is the opposite side of the room where you can see tops that are pressed and ready to be sandwiched hanging in front of the closet. Inside the closet are more tops on hangers and my roll of Warm & White batting.
When I'm not sandwiching a quilt I plan to use this room as a sorting station and I'm storing the 1st wave of bins to be sorted on the lower shelf of this table which Megan made in shop class. Yes, I have a matched set! 
I haven't decided if I'm going to hang that white/cork board on the wall because I found this handy whiteboard easel on Amazon. It folds flat to write on and it has whiteboard on both sides. I love it! I'm thinking I'll use the backside for calculating sizes and maybe keep a running tally of stash busted for backings just for fun.
As you can see - I am ready to make LOTS of backings. And once these are done I'm going to work ahead on my UFO list and make as many as I can so that they will be ready. I've got a new batch of audiobooks from the library all queued up and ready to sew along to. I think this setup will bring me one GIANT step closer to the Finish Line because I enjoy the quilting and binding stages.

I'm linking up to WIP Wednesday@Freshly Pieced.